
Understanding Your Lennox Heat Pump System
Lennox heat pumps are efficient heating and cooling systems that transfer heat between indoor and outdoor air. They operate in two modes: heating and cooling.
In cooling mode, the heat pump extracts warm air from inside the home and releases it outdoors. This process cools and dehumidifies the indoor air.
During heating mode, the system reverses, pulling heat from outside air and distributing it indoors. This provides warmth even in cold temperatures.
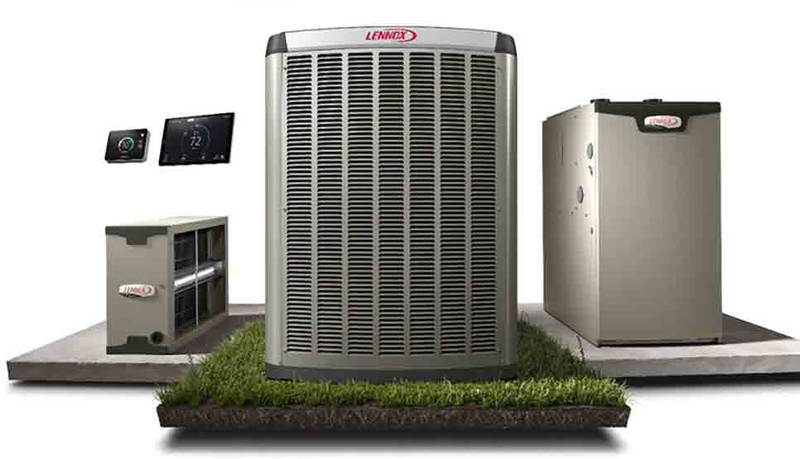
Key components of a Lennox heat pump include:
- Compressor
- Indoor coil
- Outdoor coil
- Expansion valve
- Reversing valve
The thermostat controls the heat pump’s operation, signaling when to switch between heating and cooling modes.
Common Lennox Heat Pump Issues
Lennox heat pumps can experience various problems that affect their performance and efficiency. These issues range from simple thermostat malfunctions to more complex compressor failures. Identifying and addressing these common problems promptly can help maintain optimal system operation.
Thermostat Malfunctions
Thermostat issues often lead to inconsistent heating or cooling. A faulty thermostat may display incorrect temperature readings or fail to communicate with the heat pump. This can result in the system not turning on or off as needed.
To troubleshoot, check the thermostat’s batteries and ensure it’s set to the correct mode. Verify that the wiring connections are secure and free from corrosion. If problems persist, consider recalibrating or replacing the thermostat.
Don’t Overpay for HVAC Services – Call 888-894-0154 Now to Compare Local Quotes!
Power Supply Problems
Power-related issues can prevent a Lennox heat pump from operating. These problems may stem from tripped circuit breakers, blown fuses, or faulty wiring.
Check the circuit breaker panel for any tripped switches and reset them if necessary. Inspect fuses and replace any that have blown. If the issue continues, examine the electrical connections for signs of damage or loose wires.
A voltage test can help determine if the unit is receiving the correct power supply. If electrical problems persist, consult a licensed electrician for further diagnosis and repair.
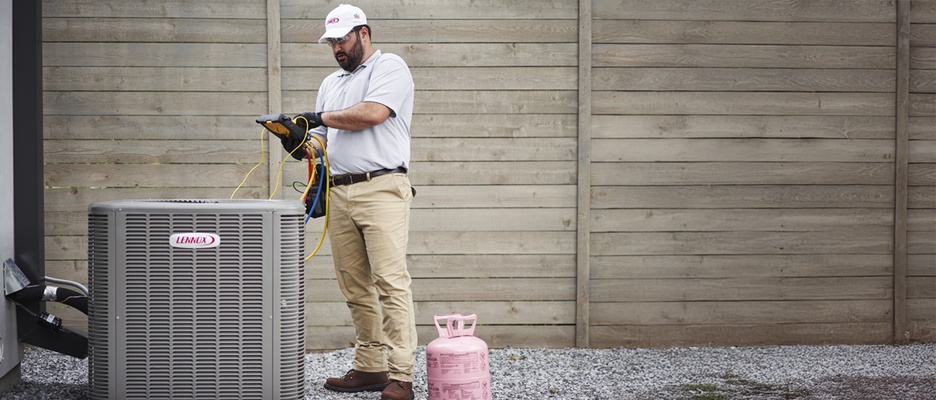
Refrigerant Leaks
Low refrigerant levels due to leaks can significantly impact a heat pump’s efficiency. Signs of a refrigerant leak include reduced cooling capacity, ice formation on the evaporator coil, and hissing sounds near the unit.
To detect leaks, use an electronic leak detector or apply soapy water to suspected areas and look for bubbles. Small leaks may be repairable, but larger ones often require professional attention.
It’s crucial to address refrigerant leaks promptly, as running the system with low refrigerant can damage the compressor. Only certified technicians should handle refrigerant recharging due to environmental and safety regulations.
Defrost Mode Issues
Lennox heat pumps have a defrost cycle to remove ice buildup on the outdoor coil during cold weather. Problems with this cycle can lead to reduced efficiency and potential system damage.
Signs of defrost issues include excessive ice accumulation on the outdoor unit or frequent cycling. Check that the defrost control board is functioning correctly and that the defrost sensor is properly positioned and operational.
Ensure that the outdoor unit has proper airflow and is free from debris. If defrost problems persist, a technician may need to inspect the reversing valve or defrost timer for malfunctions.
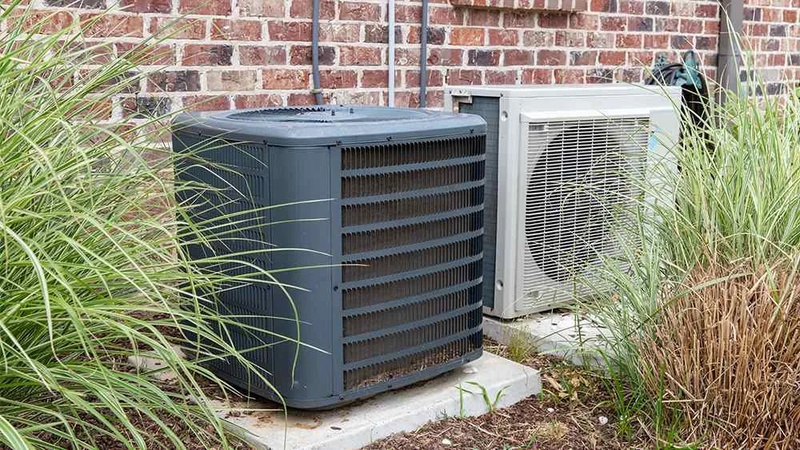
Airflow Restrictions
Restricted airflow can cause a Lennox heat pump to work harder, reducing efficiency and potentially leading to system failures. Common causes include blocked vents, dirty air filters, and obstructed outdoor units.
Inspect all vents and registers in the home, ensuring they are open and unobstructed. Check the outdoor unit for debris like leaves or grass clippings that may impede airflow.
Clean or replace air filters regularly, typically every 1-3 months depending on usage. For persistent airflow issues, consider having the ductwork inspected for leaks or blockages.
Clogged Filters
Dirty or clogged air filters are a common cause of heat pump problems. They restrict airflow, forcing the system to work harder and potentially leading to frozen coils or overheating.
Replace disposable filters or clean reusable ones according to the manufacturer’s recommendations. For homes with pets or high dust levels, more frequent filter changes may be necessary.
Consider using high-efficiency filters to improve air quality, but ensure they don’t restrict airflow too much. Some systems may require professional modifications to accommodate thicker filters.
Faulty Start Capacitor
A failing start capacitor can prevent the compressor or fan motors from starting properly. Signs of a bad capacitor include clicking sounds, humming noises, or the heat pump failing to turn on.
Testing a capacitor requires a multimeter and safety precautions due to stored electrical charge. If you suspect a faulty capacitor, it’s best to call a professional technician for diagnosis and replacement.
Capacitors can fail due to age, power surges, or extreme temperatures. Regular maintenance can help identify potential capacitor issues before they lead to system failure.
Compressor Failures
Compressor problems are among the most serious issues a Lennox heat pump can face. Signs of compressor failure include strange noises, reduced heating or cooling capacity, and frequent system shutdowns.
Causes of compressor failure can include electrical issues, refrigerant leaks, or normal wear and tear. Regular maintenance can help prevent some compressor problems, but age and usage eventually take their toll.
Don’t Overpay for HVAC Services – Call 888-894-0154 Now to Compare Local Quotes!
Compressor replacement is a major repair that often requires weighing the cost against that of a new heat pump system. In some cases, replacing the entire outdoor unit may be more cost-effective in the long run.
Troubleshooting Procedures
Systematic troubleshooting can quickly identify and resolve issues with Lennox heat pumps. Following these key procedures helps pinpoint problems and restore optimal performance.
Resetting the System
To reset a Lennox heat pump, turn off power at the circuit breaker for 30 seconds. Flip the breaker back on and wait 5 minutes for the system to restart. This often clears minor glitches.
For a full reset, disconnect power for 1 hour. This allows capacitors to fully discharge. Reconnect power and set the thermostat to “Off” for 5 minutes before selecting the desired mode.
If issues persist after resetting, further diagnostics are needed.
Diagnostic Error Codes
Lennox heat pumps display error codes to indicate specific faults. Check the control board LED for blinking patterns. Common codes include:
- E1: High pressure switch open
- E2: Low pressure switch open
- E3: Compressor overload
- E4: Indoor blower failure
Consult the manual to interpret codes and troubleshoot accordingly. Clear codes by cycling power after addressing the underlying issue.
Electrical Component Checks
Test voltage at the disconnect box and contactor to ensure proper power supply. Measure amperage draw of the compressor and fan motors under load.
Check for loose or corroded wiring connections at the control board, contactor, and capacitors. Tighten connections and replace damaged wires.
Inspect fuses and replace if blown. Test continuity of safety switches like the high and low pressure cutouts.
Verifying Proper Refrigerant Charge
An incorrect refrigerant charge can severely impact heat pump performance. Check superheat and subcooling values against manufacturer specifications.
Measure suction and discharge pressures. Compare to the expected values for current outdoor temperature and indoor return air conditions.
If charge is low, locate and repair any leaks before adding refrigerant. Overcharged systems require careful removal of excess refrigerant.
Inspection of Coils and Fans
Examine indoor and outdoor coils for dirt buildup, bent fins, or frost accumulation. Clean coils with a soft brush and coil cleaner as needed.
Don’t Overpay for HVAC Services – Call 888-894-0154 Now to Compare Local Quotes!
Check condenser and evaporator fans for smooth operation. Listen for unusual noises and verify proper airflow. Clean fan blades and ensure they spin freely.
Straighten bent coil fins using a fin comb. This improves heat transfer and system efficiency.
Testing Capacitors and Contractors
Measure capacitance of start and run capacitors using a multimeter. Replace if values are outside 10% of rated capacity.
Inspect contactor points for pitting or excessive wear. Test contactor operation by manually engaging the plunger. Replace if contacts are stuck or severely damaged.
Verify correct voltage at the contactor coil when energized. A weak coil may cause intermittent operation.
Examining Ductwork and Vents
Inspect accessible ductwork for leaks, disconnects, or crushed sections. Seal leaks with mastic or metal tape. Repair damaged ducts to restore proper airflow.
Check supply and return vents for obstructions. Remove any debris and adjust dampers for balanced airflow throughout the home.
Measure supply air temperature at registers. A temperature split of 15-20°F between return and supply air indicates proper system operation.
Maintenance Tips for Optimal Performance
Regular maintenance is crucial for keeping your Lennox heat pump operating efficiently and extending its lifespan. Proper care prevents breakdowns and ensures optimal performance year-round.
Regular Cleaning Regimens
Clean the outdoor unit every few months to remove debris. Gently spray the coils with a garden hose to dislodge dirt and leaves. Trim back vegetation around the unit, maintaining at least 2 feet of clearance.
For indoor units, vacuum the supply and return vents monthly. Wipe down the indoor air handler with a damp cloth to remove dust buildup.
Clean the condensate drain line annually with a mixture of bleach and water to prevent clogs and mold growth.
Filter Replacement Schedule
Replace or clean the air filter every 1-3 months, depending on usage and air quality. Set a reminder on your phone or calendar to stay on track.
For washable filters, rinse with warm water and let dry completely before reinstalling. Disposable filters should be replaced with the same size and type.
Check the filter monthly during peak heating and cooling seasons. A dirty filter restricts airflow, reducing efficiency and potentially damaging the system.
Seasonal Inspections
Schedule professional inspections in spring and fall to prepare for peak usage seasons. A qualified technician will:
- Check refrigerant levels
- Inspect electrical connections
- Lubricate moving parts
- Test thermostat function
- Clean coils and components
These inspections catch minor issues before they become major problems, saving money on repairs and energy costs.
Clearance and Space Requirements
Maintain proper clearance around both indoor and outdoor units. The outdoor unit needs at least 2 feet of space on all sides for adequate airflow.
Keep the area around the outdoor unit clear of leaves, grass clippings, and snow. Remove any items stored near the unit that could impede airflow.
Indoors, ensure furniture and curtains don’t block vents or returns. Proper airflow is essential for efficient operation and even temperature distribution throughout your home.
Professional Repair vs. DIY
Lennox heat pump troubleshooting often presents a choice between professional repair and do-it-yourself solutions. Each option has its merits and drawbacks.
Professional repair offers expertise and specialized tools. Trained technicians can quickly diagnose and fix complex issues, ensuring optimal performance and safety. They also have access to genuine Lennox parts, which may be challenging for homeowners to obtain.
DIY repairs can save money on labor costs. Simple tasks like cleaning filters or checking thermostat settings are easily manageable for most homeowners. Online resources and manuals provide guidance for basic troubleshooting steps.
However, DIY attempts carry risks. Incorrect repairs may void warranties or cause further damage. Handling refrigerants requires special certification, making some repairs legally off-limits for non-professionals.
Time is another factor to consider. Professional repairs are typically faster, minimizing system downtime. DIY troubleshooting can be time-consuming, especially for those unfamiliar with HVAC systems.
Safety concerns favor professional repair. Electrical components and high-pressure systems in heat pumps can be dangerous without proper training and equipment.
Ultimately, the choice depends on the problem’s complexity, personal skill level, and comfort with HVAC systems. Minor issues may be suitable for DIY, while major repairs are best left to professionals.
Replacement Parts and Warranty Information
Lennox heat pumps come with a limited warranty that covers specific components for a set period. The duration typically ranges from 5 to 10 years, depending on the model and registration status.
To maintain warranty coverage, homeowners must register their unit within 60 days of installation. Regular maintenance by a licensed HVAC technician is also essential for warranty validity.
Lennox offers genuine replacement parts for their heat pumps through authorized dealers. Common components that may need replacement include:
- Compressors
- Expansion valves
- Capacitors
- Fan motors
- Control boards
When ordering parts, it’s crucial to provide the heat pump’s model and serial number. This ensures compatibility and proper functioning of the replacement component.
For warranty claims, homeowners should contact their local Lennox dealer. The dealer will verify warranty coverage and arrange for repairs or replacements as needed.
Lennox provides an online parts lookup tool on their website. This resource allows technicians and homeowners to find the correct part numbers for their specific heat pump model.
It’s important to note that using non-Lennox parts may void the warranty. Always consult with a certified Lennox technician before making any repairs or replacements to ensure warranty compliance.
How to Avoid Being Ripped Off and Get a Fair Repair Price
Finding the right heat pump repair expert can be tricky—some companies offer rock-bottom prices because they’re inexperienced or have poor reputations, while others charge far too much for the same work. That’s why the smartest way to get quality repairs at a fair price is to compare estimates from top-rated local pros. Meet with each, learn about their history and the experience of the technicians that will do the work. Choose an experienced heat pump repair contractor with reasonable rates. You can expedite this process by using our Free Local Estimates service.
When you fill out a quick form and submit it, you’ll soon be contacted by three of the top heat pump repair and installation companies near you. They are prescreened for experience, and all are licensed and insured for your protection. Click below to get started and protect your home and wallet today.

How to Get the Best HVAC Prices
- Firstly, keep in mind that installation quality is always the most important thing for residential HVAC project. So never sacrifice contractor quality for a lower price.
- Secondly, remember to look up the latest rebates as we talked above.
- Thirdly, ask for at least 3 bids before you make the decision. You can click here to get 3 free estimates from your local contractors, and this estimate already takes rebates and tax credit into consideration and filter unqualified contractors automatically.
Lastly, once you chose the right contractor, remember to use the tactics from this guide: Homeowners Tactics When Negotiating with HVAC Dealer to get the final best price.